

Trellis can provide a framework for climbing plants, conceal unsightly areas act as a division.
Tools required:
- Hammer
- Tape Measure
- Power Drill
- Masonry Bit
Tip 1: Fixing trellis to a wall
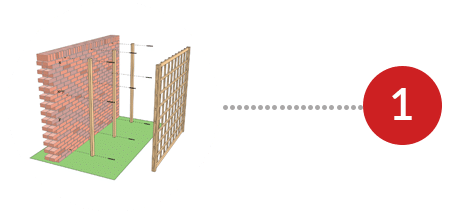
When fitting your trellis to a wall, you will need to leave a considerable amount of space between the wall and trellis to allow plants to grow behind it. To achieve this space, you must mount the trellis onto wooden battens. Each batten should be approximately 600mm apart from each other.
You can fix the battens to the wall using screws and wall plugs, the trellis can be fitted using galvanised nail.
Tip 2: Fixing trellis out from a wall
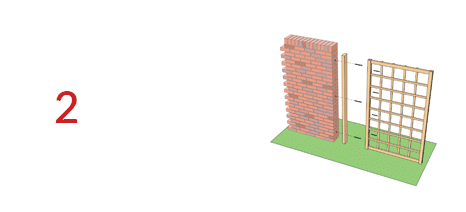
To fix trellis out from a wall you must use screws and wall plugs, the batten should be the same length as the trellis.
The trellis must be fitted using screws with approximately 300mm of space between them.
Tip 3: Fixing trellis to an existing fence
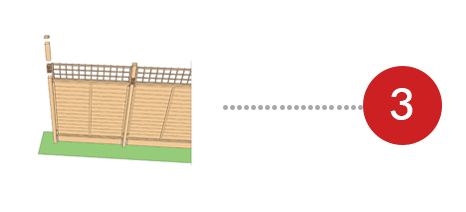
To fit the trellis onto an existing fence it is necessary to lengthen the existing posts to add the trellis. Metpost Post Extenders can be used to gain the correct height.
The trellis can be fitted using screws, a post Cap can be added to the top of the post for an enhancing finish.
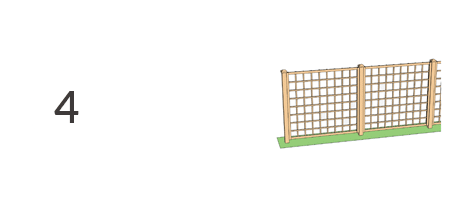
Tip 4: Freestanding trellis
You will need to support your trellis by fixing posts into the ground if you want to use it as a free standing feature. A minimum post size of 50mm x 50mm will be required.
*The how to install pages are designed as a guidance only. Methods of installation may vary depending on application.